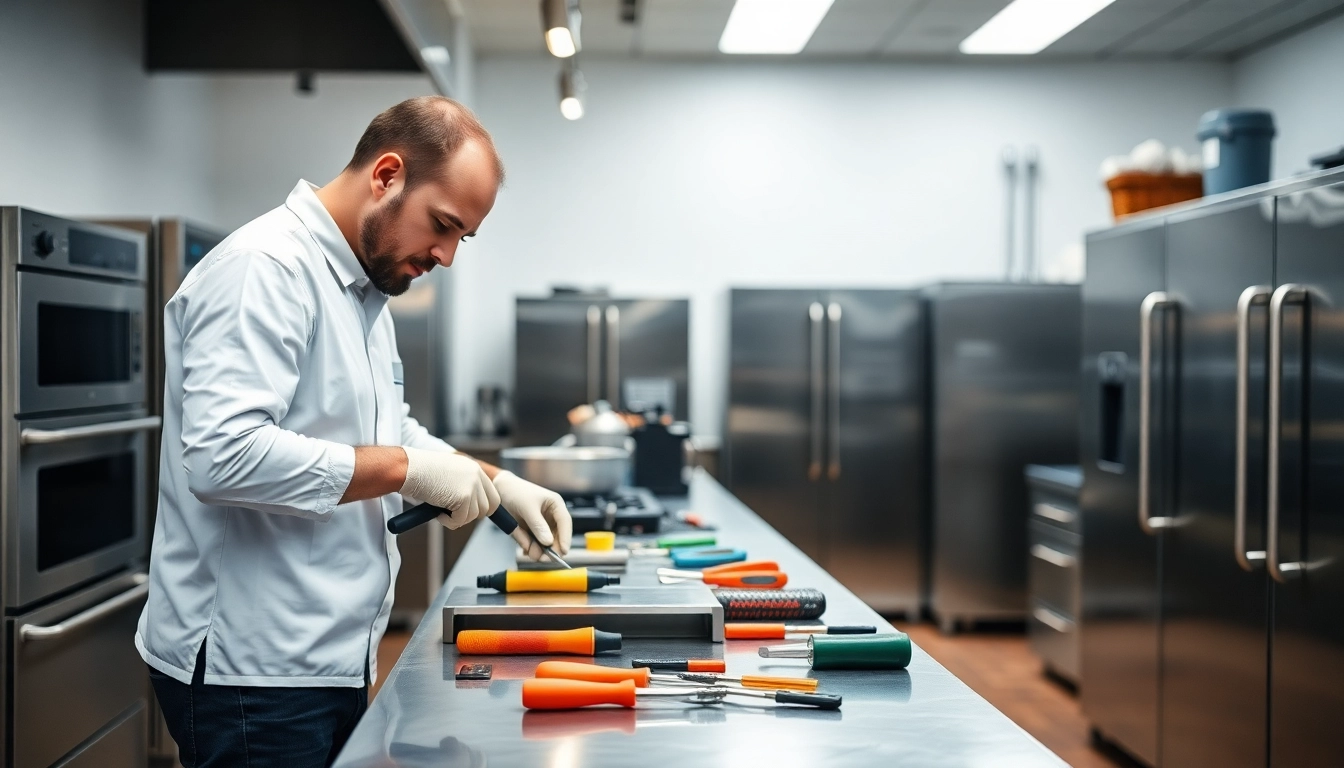
Understanding Prep Table Repair
In the bustling world of restaurants and commercial kitchens, the prep table is an indispensable asset. This piece of equipment not only streamlines food preparation but also significantly impacts food safety and kitchen efficiency. When issues arise, understanding how to navigate prep table repair can save both time and money. This comprehensive guide delves into the essentials of prep table diagnostics, repairs, and maintenance strategies, ensuring your kitchen remains a productive and safe environment.
What is a Prep Table?
A prep table, also known as a preparation table, is a work surface designed for food assembly and ingredient preparation, often equipped with refrigeration capabilities. These tables come in various types, including refrigerated prep tables, salad bars, and sandwich stations, all vital for keeping food at safe temperatures while providing adequate workspace.
Typically, prep tables feature multiple compartments for ingredient organization and are designed to support the heavy wear and tear of a busy kitchen environment. They often include cutting boards, storage space, and refrigeration units, making them a multifunctional asset in any food service operation.
Common Issues Leading to Repairs
Despite their robustness, prep tables are not immune to wear and tear. Common issues leading to repairs include:
- Temperature fluctuations: This can result from thermostat inaccuracies or mechanical failures.
- Seal failures: The integrity of door seals is crucial for maintaining thermal efficiency.
- Leaking refrigerant: This can occur if there are issues with the compressor or other cooling components.
- Electrical problems: Issues may arise from wiring faults or electrical component malfunctions.
Importance of Regular Maintenance
Maintaining your prep table is critical for prolonging its lifespan and ensuring optimal performance. Regular maintenance helps to identify potential issues before they escalate into costly repairs. Establishing a maintenance schedule can also enhance food safety by ensuring that temperature controls function correctly and surfaces remain sanitary.
Diagnosing Common Prep Table Problems
Diagnosing issues effectively is the first step toward successful repair. Below are some common prep table problems and their symptoms.
Thermostat Failures
Thermostat failures are a frequent concern in refrigerated prep tables. Symptoms include inconsistent temperature readings, which can lead to food spoilage and safety concerns.
To diagnose thermostat issues, check for:
- Erratic temperature displays
- A refrigerator that fails to reach the desired temperature
- Strange sounds from the compressor
Poor Door Sealing
Poor door sealing is another common issue that affects cooling efficiency. Over time, rubber seals can wear out, allowing cold air to escape and warm air to enter.
To check for sealing issues:
- Inspect the rubber seal for cracks or tears.
- Use a dollar bill test: tuck a bill into the door and close it; if the bill slides out easily, the seal is compromised.
Insufficient Cooling
Insufficient cooling could arise from various underlying issues, including a faulty compressor or clogged coils. Signs include food items not staying cold enough and condensation buildup on the outer surface.
To troubleshoot insufficient cooling, observe:
- The interior temperature using a reliable thermometer.
- The sound produced by the compressor—an unusually loud or silent operation could indicate a problem.
Repair Techniques for Efficient Solutions
Once you’ve diagnosed the issues with your prep table, it’s time to implement effective repair techniques. Below are detailed steps to follow based on common problems.
Step-by-Step Repair Processes
Repairing a prep table generally involves the following steps:
- Assess the problem: Based on the symptoms observed during diagnostics, confirm the problem area.
- Gather the necessary tools and parts: This might include screwdrivers, replacement seals, refrigerants, or electrical components.
- Execute the repair: Follow the manufacturer’s guidelines or repair manuals for specific instructions aimed at the diagnosed issue.
- Test the repair: After the repair, monitoring its effectiveness with an operational test is vital.
Choosing the Right Replacement Parts
Choosing quality replacement parts is crucial for the longevity of your repairs. Consider the following:
- Compatibility: Ensure parts are compatible with your specific prep table model.
- OEM vs. aftermarket: Original Equipment Manufacturer (OEM) parts often guarantee higher quality but may come at a premium price compared to aftermarket options.
- Supplier reputation: Purchase from reputable suppliers to avoid counterfeit or subpar products.
When to Call a Professional
While DIY repairs can be cost-effective, certain situations require professional intervention:
- When the problem is beyond basic repairs, such as compressor issues or extensive electrical problems.
- If uncertain about the diagnosis and repair process, leaving repairs to professionals can safeguard against complications.
- When emergency repairs are needed, as personal safety and equipment integrity are paramount.
Preventive Maintenance Strategies
Preventive maintenance is key in reducing downtime and repair costs for your prep tables. Implementing effective strategies can enhance their longevity.
Routine Cleaning and Inspections
Regular cleaning and inspections can greatly reduce the risk of equipment failure. Ensure that:
- The surfaces are cleaned thoroughly to prevent food contamination.
- Internal components like condensers and fans are free from dust and debris.
Schedule inspections bi-annually or quarterly to proactively address wear and tear.
Temperature Monitoring Techniques
Regular temperature checks are vital to food safety. Employ methods like:
- Using high-accuracy thermometers to monitor food and ambient temperatures.
- Installing temperature logs to keep a record of temperature fluctuations.
- Utilizing smart temperature monitoring systems that alert you when temperatures are out of range.
Best Practices for Longevity
To maximize the lifespan of your prep tables, consider the following best practices:
- Ensure that users are trained on optimal usage and cleaning methods.
- Keep the unit away from heat sources to avoid strain on cooling components.
- Ensure proper ventilation around the unit to allow for heat dissipation.
Evaluating the Cost of Prep Table Repair
Understanding the costs associated with prep table repairs can aid in budgeting and planning. Various factors impact the overall expense.
Factors Affecting Repair Costs
The costs of repairs can vary widely based on:
- The nature of the repair: Minor fixes (like seal replacements) are typically cheaper than major repairs (like compressor replacements).
- Labor costs: Professional repair services will charge by the hour, with rates varying by region.
- Parts costs: OEM parts tend to be pricier than aftermarket options, impacting overall repair costs significantly.
Comparing DIY vs. Professional Services
Weighing the costs of DIY repairs against hiring professionals is important:
- DIY can save on labor costs but may lead to higher repair costs if improperly executed.
- Professional repair ensures expert handling but may be more expensive upfront.
- Consider the risk associated with each route, especially for complicated repairs.
Budgeting for Future Repairs
Budgeting for future repairs is essential for any kitchen operation. Set aside a percentage of your budget for maintenance and repair needs. Performing regular inspections can help in forecasting potential costs, minimizing unexpected expenses, and promoting better financial planning.